OCFS implementation in Ubuntu
- Subham Dutta
- Jul 11, 2022
- 4 min read

Since the advent of network attached storage, having a shared file system accessible across multiple instances is a common phenomenon.With the help of protocols like NFS, SMB, iSCSI we can present same volume to multiple instances but to make something like cluster aware for concurrent read/write , we need technologies like Oracle cluster file system.
Today we will go through the step by step process of configuring the OCFS2 for cluster aware post block volumes are attached to multiple instances.
Some overview about OCFS2.
OCFS2
OCFS2 has a large number of features that make it suitable for deployment in an enterprise-level computing environment:
- Support for ordered and write-back data journaling that provides file system consistency in the event of power failure or system crash.
- Block sizes ranging from 512 bytes to 4 KB, and file-system cluster sizes ranging from 4 KB to 1 MB (both in increments of powers of 2). The maximum supported volume size is 16 TB, which corresponds to a cluster size of 4 KB. A volume size as large as 4 PB is theoretically possible for a cluster size of 1 MB, although this limit has not been tested.
- Extent-based allocations for efficient storage of very large files.
- Optimized allocation support for sparse files, inline-data, unwritten extents, hole punching, reflinks, and allocation reservation for high performance and efficient storage.
- Indexing of directories to allow efficient access to a directory even if it contains millions of objects.
- Metadata checksums for the detection of corrupted inodes and directories.
- Extended attributes to allow an unlimited number of name:value pairs to be attached to file system objects such as regular files, directories, and symbolic links.
- Advanced security support for POSIX ACLs and SELinux in addition to the traditional file-access permission model.
- Support for user and group quotas.
- Support for heterogeneous clusters of nodes with a mixture of 32-bit and 64-bit, little-endian (x86, x86_64, ia64) and big-endian (ppc64) architectures.
- An easy-to-configure, in-kernel cluster-stack (O2CB) with a distributed lock manager (DLM), which manages concurrent access from the cluster nodes.
- Support for buffered, direct, asynchronous, splice and memory-mapped I/O.
- A tool set that uses similar parameters to the ext3 file system.
Getting started:
* Create 2 OCI instances across same AD and same region.
* Attach shared iSCSI block volumes
* Get the instance private IP address
* Set the Firewall rules and port settings in Security list of the VPN
* Install ocsf2 tools
* Create & Configure cluster
* Create partition on shared device
* Mount the device
* Check the cluster status and test the same.
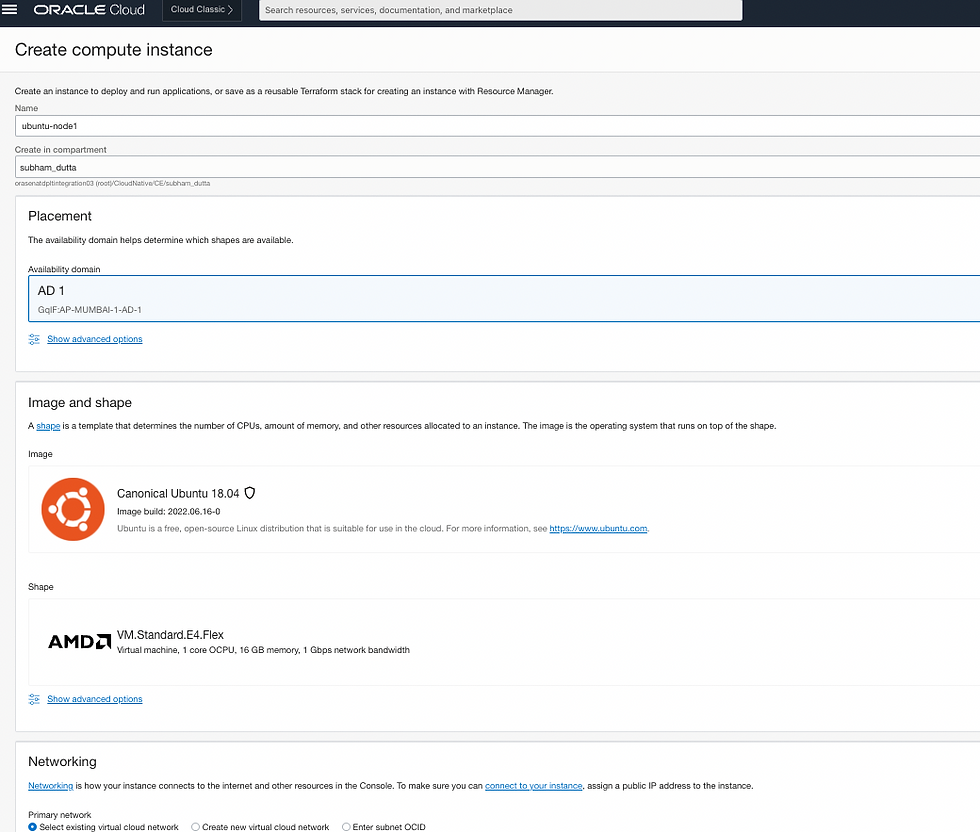
> Create the VCN and select wizard with internet connectivity.


> Create two instances with proper naming convention and chose Ubuntu-18.04. (NOTE: make sure both the instance are in same OCI AD and Region.)

> Next go to the VCN -> Demo-1 -> Security list and add rule for port 7777 and 3206.

> Create and attach the block volume to both the instances.

> Attach the volume to the compute Instances. make sure to select iSCSI and Read/Write Shareable.

> Once this part is complete, we can proceed to OCFS creation and configuration.
On Node 1, check the firewall settings. Repeat the same on Node 2.
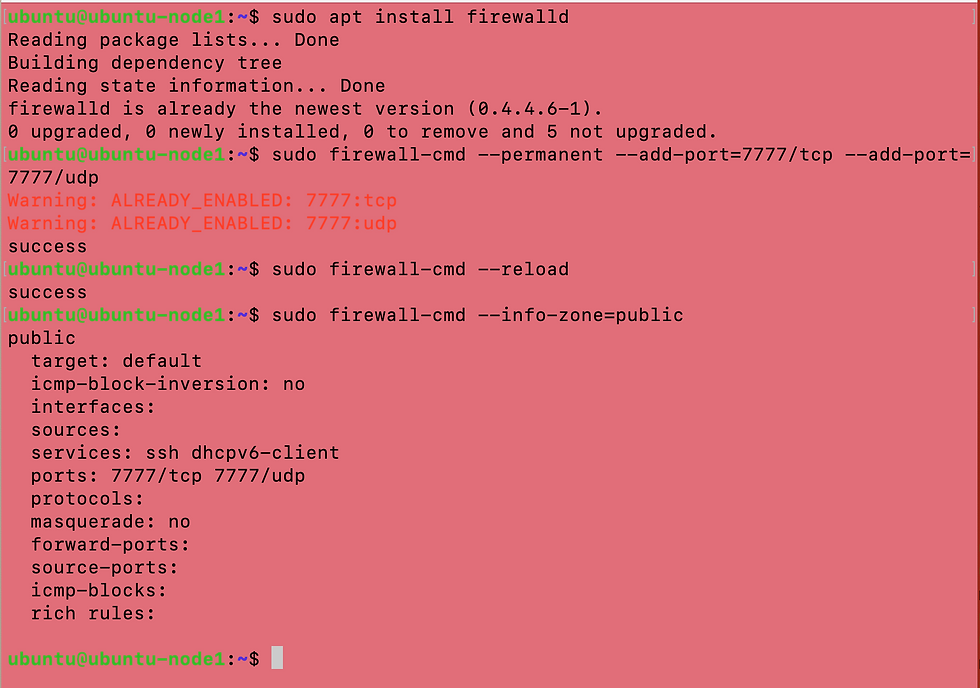

> Then install ocfs tools on both the nodes. In my case, it was already installed earlier, hence it shows 0 newly installed.

> Next create cluster and add members. [on both the nodes]
ubuntu@ubuntu-node1:~$ sudo o2cb add-cluster ociocfs2
ubuntu@ubuntu-node1:~$sudo o2cb add-node ociocfs2 node1 --ip xx.xx.xx.xx (Private IP)
ubuntu@ubuntu-node1:~$sudo o2cb add-node ociocfs2 node2 --ip xx.xx.xx.xx (Private IP)
if unsure, run #ifconfig to get the private IP (172** or 10* or 192* )
Once done the cluster configuration file should have the below info.
[NOTE: Double check whether the node name/Hostname has been given accurately in the above command sand should reflect in the conf file.]

Check whether the cluster.conf exist in the Node2 , if not create the same using
#sudo mkdir /etc/ocfs2
#sudo vi /etc/ocfs2/cluster.conf and paste the below

>Next run the configuration on both the nodes.
ubuntu@ubuntu-node1:~$ sudo dpkg-reconfigure ocfs2-tools
** Choose O2CB driver on boot : Yes and rest as it is/default.


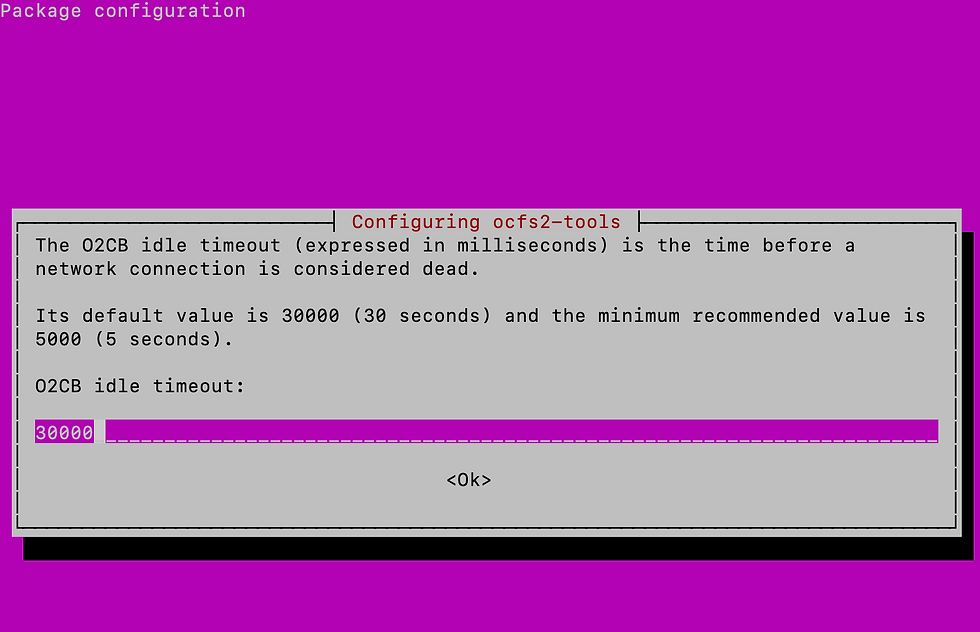


Repeat the same on Node 2
> Enable o2cb and ocfs using below command to start at boot time.
#sudo systemctl enable o2cb
#sudo systemctl enable ocfs2
Now check the status on both Nodes.
ubuntu@ubuntu-node1:~$ sudo service o2cb start
ubuntu@ubuntu-node1:~$ sudo service o2cb status
● o2cb.service - Load o2cb Modules
Loaded: loaded (/lib/systemd/system/o2cb.service; enabled; vendor preset: enable
Active: active (exited) since Fri 2022-07-08 14:18:14 UTC; 5min ago
Main PID: 4323 (code=exited, status=0/SUCCESS)
Tasks: 0 (limit: 4915)
CGroup: /system.slice/o2cb.service
Jul 08 14:18:14 ubuntu-node1 systemd[1]: Starting Load o2cb Modules...
Jul 08 14:18:14 ubuntu-node1 systemd[1]: Started Load o2cb Modules.
>Next set the parameter correctly for Kernel panic and Kernel panic on oops.

> Run the blow command and add the two lines in the sysctl.conf file [Repeat the same in Node 2].


> Now create partition and format using ocfs2 file system.
ubuntu@ubuntu-node1:~$ sudo fidsk /dev/sdb
ubuntu@ubuntu-node1:~$ sudo mkfs.ocfs2 -L "ocfs2" /dev/sdb
mkfs.ocfs2 1.8.5
Cluster stack: classic o2cb
Label: ocfs2
Features: sparse extended-slotmap backup-super unwritten inline-data strict-journal-super xattr indexed-dirs refcount discontig-bg append-dio
Block size: 4096 (12 bits)
Cluster size: 4096 (12 bits)
Volume size: 107374182400 (26214400 clusters) (26214400 blocks)
Cluster groups: 813 (tail covers 22528 clusters, rest cover 32256 clusters)
Extent allocator size: 16777216 (4 groups)
Journal size: 268435456
Node slots: 8
Creating bitmaps: done
Initializing superblock: done
Writing system files: done
Writing superblock: done
Writing backup superblock: 4 block(s)
Formatting Journals: done
Growing extent allocator: done
Formatting slot map: done
Formatting quota files: done
Writing lost+found: done
mkfs.ocfs2 successful
Then run the following command to create mountpoint.
ubuntu@ubuntu-node1:~$ sudo mkdir /test
ubuntu@ubuntu-node1:~$ sudo mount -L ocfs2 /test
mount.ocfs2: Cluster name is invalid while trying to join the group. -----> You might encounter the following error while mounting.. run the below command to register the cluster.
ubuntu@ubuntu-node1:~$ sudo o2cb register-cluster ociocfs2
then run the mount command.
ubuntu@ubuntu-node1:~$ sudo mount -L ocfs2 /test
The lsblk status should show something like below:

Repeat the step in Node 2, starting from creation of mountpoint. [NOTE: However if you receive issue with mountpoint, try to detach the volume from node 2 and reattach and try the same command and create partition using fdisk as well, but only during initial stage , not in production]
The lsblk status should show something like below:

> Now to test whether the cluster is working or not , copy some files and create some files and edit, write, omit.


Comments